Learning to sew: My Viking "Bed-chic" Dress
March 2022 - April 2022
I decided to finally learn how to sew on a sewing machine in early 2022. I could hand-stitch and embroider, but knew next to nothing about using a sewing machine and absolutely nothing about garment construction. I had a really bad experience with my high school theater teacher, who, after I tried to help with costumes my first semester, forbade me from ever touching her sewing machines again. I kept breaking them, she said, and messing things up. She would angrily ask me what I did, and I couldn't tell her, because I didn't even know how to thread them. After that was convinced I was the bane of sewing machines everywhere, a hopeless cause. My mom tried to teach me for years, but I was just too anxious. The time had come, I decided, to fight this dragon. It may sound silly to even call this a dragon, but it was!
My first start in March was not a good one. I bought some linen with the idea of making an underdress. I found a worksheet for patterning Viking garb that was very good for someone with any experience, but I had literally none, so I was quickly in over my head. I got extremely frustrated before I even touched the sewing machine. I had to change tactics.
The first step for me was to find some fabric less scary to mess up than the linen I bought. I went to Goodwill and found a blue queen-sized flat sheet. $5 was cheap enough I felt better about any potential screw-ups. I talked to Gunnolf about my bedsheet dress and he said "no, it's bed-chic!" and the name stuck!
The second step to this new start was to actually understand what I was doing. I found Morgan Donner's Basic Medieval Underwear tutorial which was a huge help! She broke it down in a way I could understand. I spent a whole day with some graph paper measuring, taking notes, and undestanding what pieces I wanted to cut out and why.
Time to cut everything out! It was still anxiety-inducing, but much less so thanks to my low-pressure bedsheet. I got everything cut & labled & ready to go.
My mother let me borrow a sewing machine, a basic little Brother model that she had tried to teach me on before. I had used it twice; once years ago with her help to make a pillowcase, and then to hem some curtains (again with her help) but this was absolutely new and terrifying territory.
When I sat down I didn't know how to thread it or wind a bobbin. I watched some YouTube videos and attempted to wind my first bobbin. It wound down the post of the bobbin winder instead of on the bobbin. Not a great start. I admit it, I cried.
After I calmed down I found this wonderful video from Mary Adams, which assumed I knew nothing so it was exactly the right level. With her video I got a bobbin wound, the machine threaded, and I was ready to sew.
I remembered a few lessons from my mom after all! She had taught me to practice stitches on some scrap fabric to figure out thread tension & stitch length. I took the opportunity to play with the options on the Brother to see what they all did. This was extremely helpful for helping me build confidence in the machine. I also recommend reading the machine manual! I didn't do that until later, but it was really great for explaining a lot of the machine functions and stitch details.
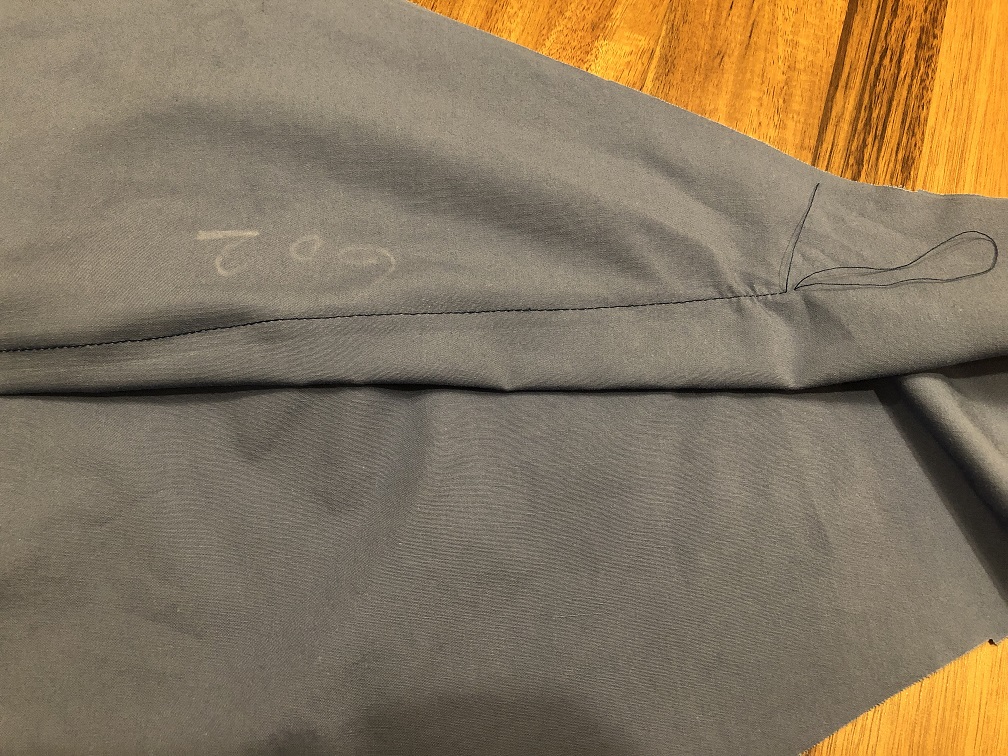
I pinned my gores. I gritted my teeth. I sewed my first seam. It went ok!!!! I was elated. In her tutorial Morgan had mentioned offsetting seams to fold and fell them later, but also said some people cut away some seam allowance to achieve the same result. I tried, but didn't have the best luck, as you can see. After this I just pinned & sewed all of my seams offset by around 1cm or .5"
Ok, time for my second seam! Filled with confidence after one successful seam I jumped right in - and messed it up. I got nervous & anxious again; maybe the good seam was a fluke.
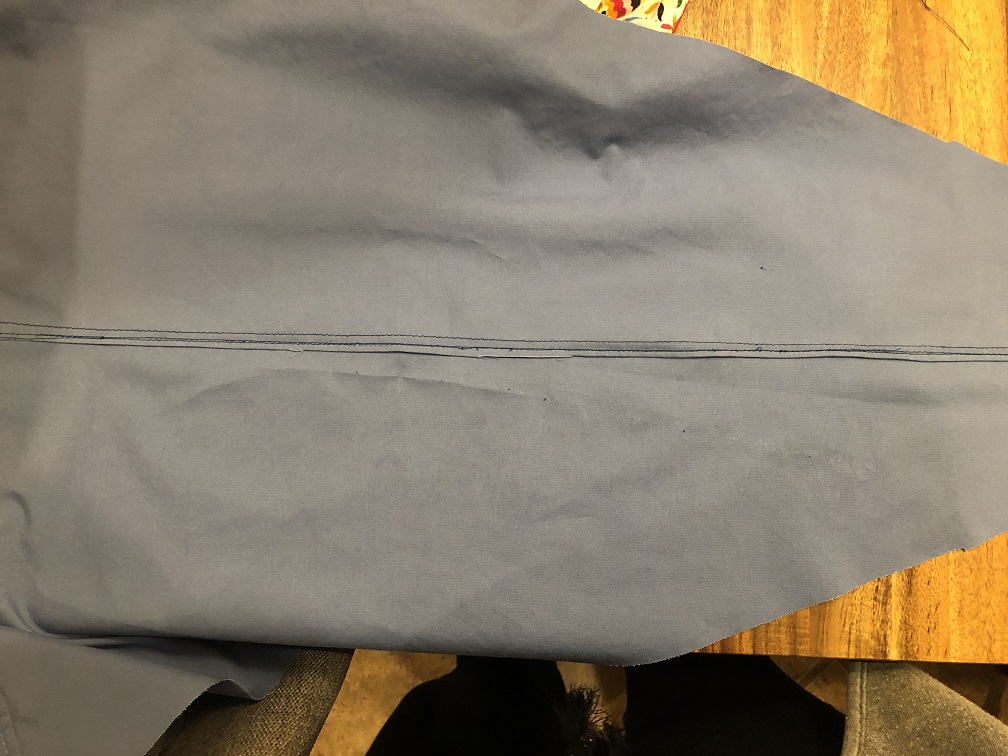
I ripped out the bad stitches. I re-sewed the seam. I felled the seam.
And it was fine. It was genuinely fine. I knew once I ironed it, you'd never know. This ended up being a huge confidence booster. I could screw up, and then I could fix it, and it would be ok.
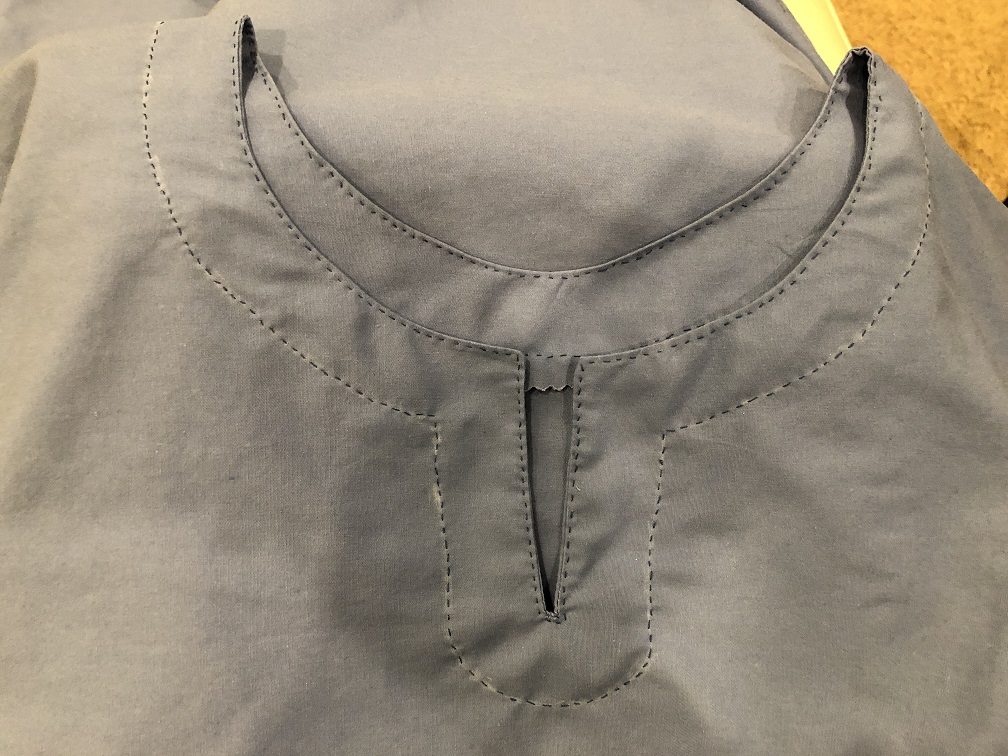
I knew my next step was going to be cutting the neck hole out of the tunic body. I found such a great tutorial on neck facings, and I am glad I did! I included pictures of all parts of this process in the gallery, but I spent a good amount of time on it. I attempted to draw the facing pattern by hand, it ended up really janky! I bought a compass, which was much better and let me measure my circle size. I tested a couple of sizes on some scrap fabric, and once I had the size I made a template out of posterboard.
The great thing about this is that now it's easy-peasy to make neck facings on future projects, I have the perfect size for me ready to go! You can see the facing pattern I made here is worlds better than the janky first one.
With a neck facing you pin it on the right/outside of the tunic body, sew it all down, THEN cut out the neck hole. Once that's done you flip the facing so it's on the wrong side/inside of the body, and iron it. Boom, you've got an unbelievable good looking and well finished neckline with no fiddly hemming.
When I first posted this on Facebook I owned up to how ugly my stitching was, but it was ok because nobody would see it. A friend pointed out ugly stitching on the unseen parts of things was very period based on extant garments he'd seen.
I included lots of extra pics in the gallery below of different parts of the construction process, but most everything went fairly smoothly. I followed tutorial advice for attaching sleeves, felling seams, attaching gussets & gores, and stitching it all together. I was so excited. I got everything attached to each other and delightedly tried on my dress.
IT DIDN'T FIT.
It was too small in the bust - seams and allowances ate up more fabric than I anticipated, and I hadn't left myself much extra fabric to let things out. I was so disappointed and frustrated. I put the project down for like 10 days.
Lessons were learned! I'm much more generous with leaving myself more margin for error and I also have become a big fan of basting things to try on before final stitching.
•••
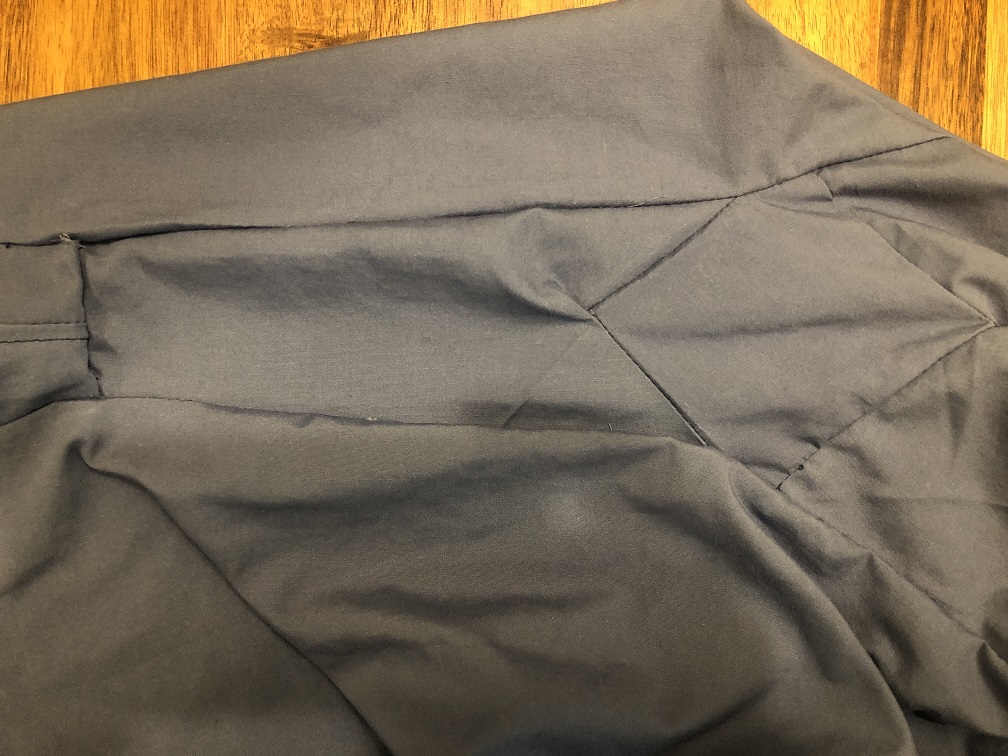
When I picked the project back up I ripped the side seams apart and just made up a solution. I decided to make myself some side panels to make the dress wider. I put on the dress & traced the outline of the space in the now-open seams onto some spare fabric I tucked underneath. This gave me a general shape and I made a little pattern for some panels/gussets for the side seams. After a proof-of-concept panel test & try-on I cut them out and sewed the gussets in, which you can see below. Next time I would have fewer points, especially the points sewn into corners, as they were extremely hard to sew straight and without bunching.
I'm happy to say, after all that extra work, the dress did indeed fit! It didn't fit beautifully, but it fit! I finished felling the seams and the collar facing, as you can see in the gallery, hemmed everything, and it was all done. I kept one of the bedsheet seams to use as a belt, for fun. In theory I could use this as a camp dress, or for messy things like dying fabric, but so far I haven't worn it at any events.
This was a good project, good grief I learned a lot. If nothing else I learned that if I keep chipping away at something I can get it done. This is definitely a "done is better than perfect" kind of lesson! I hope this was entertaining and encouraging for any other folks interested in learning how to sew, or anything new. It's ok and to try things & fail & suck at first, everyone has to start somewhere.
Sources and Additional Info
Morgan Donner's Basic Medieval Underwear tutorial
Mary Adams' How To Set Up, Thread & Load Bobbin Brother LS2400 /Sewing Machine DIY PRO TIPS
Leoba of Lecelad's tutorial on Becoming an SCA Clothes Horse: Making a T-Tunic
Ilsa Makes Things' amazing tutorial Sew a Keyhole Neckline with a Facing


