Rectangular Construction Method for a Viking Dress
July 2022 - September 2022
As fall approached in Meridies I realized I needed some proper Viking garb to wear after Sefa's Roman Summer came to an end. Yes, I'd made the bed-chic dress, but that was my first-ever sewing project and I think of it as the ultimate Viking dress mockup more than a piece of wearable garb.
The time had come to make my first real dress.
My final inspiration to start came from a post on the SCA Garb How-to Facebook group. A Scadian asked how to go about making basic Viking dresses more flattering, and I'm eternally grateful that Lady Kitta Refr from An Tir shared her amazing tutorial Introduction to Rectangular Construction! This is the single most comprehensive resource I have ever found for making Viking garb. It would be easy to adapt this for other time periods as well. Not only does her tutorial include a more traditional tunic with side gores, but also Lady Kitta's own design for a dress with side panels to help with waist shaping. The side panels are very clever; they add more width to the bust while helping keep the front & back panels more narrow. They attach to the underarm gusset and gores, giving the side of the dress a lovely line. All of this with no curves or tricky seams! I had some stunning cornflower blue medium-weight linen, and I was dying to give Lady Kitta's tutorial a try.
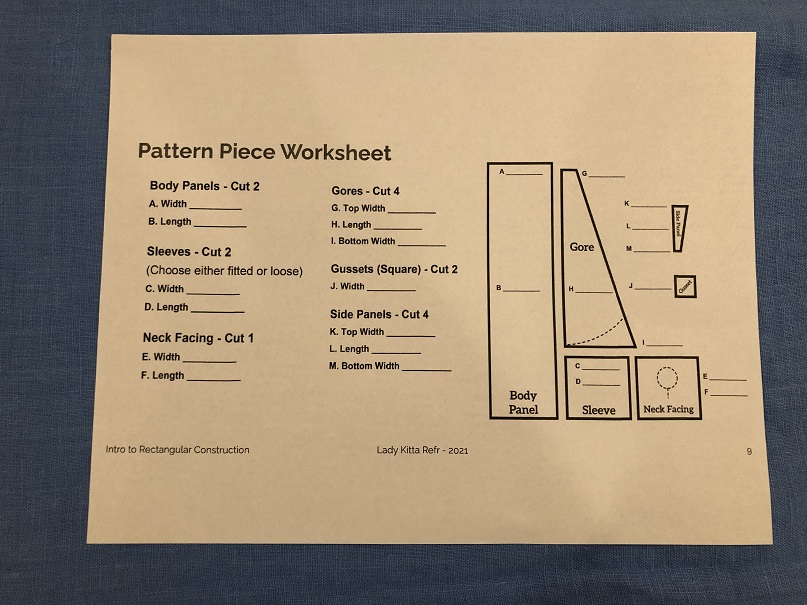
Her tutorial includes slides and step-by-step visual instructions, and it also includes a link to a Google spreadsheet she made. If you download or save the spreadsheet to your own drive you can input your measurements (guided by yet another helpful slide in her tutorial) and the spreadsheet will do calculations for your fabric measurements. You can then write those numbers into a worksheet designed to go with the spreadsheet. No guesswork, no stress, absolutely incredible. I opted to make this dress with some anachronistically short sleeves, which makes it perfect for warm Meridian fall days. It's easy to add a light long-sleeved underdress or shift to give a more historical look.
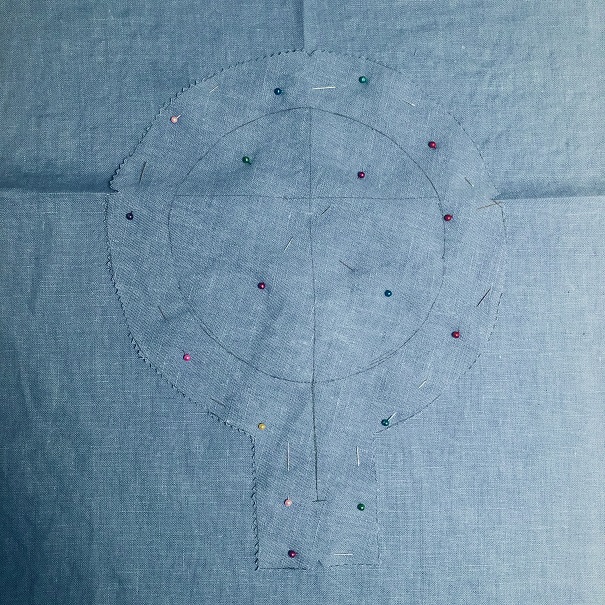
I started the sewing off using the same neckline facing method and template that I've used on previous projects. There is nothing more satisfying than flipping that neck facing and seeing how polished the neckline looks. I love it every time!
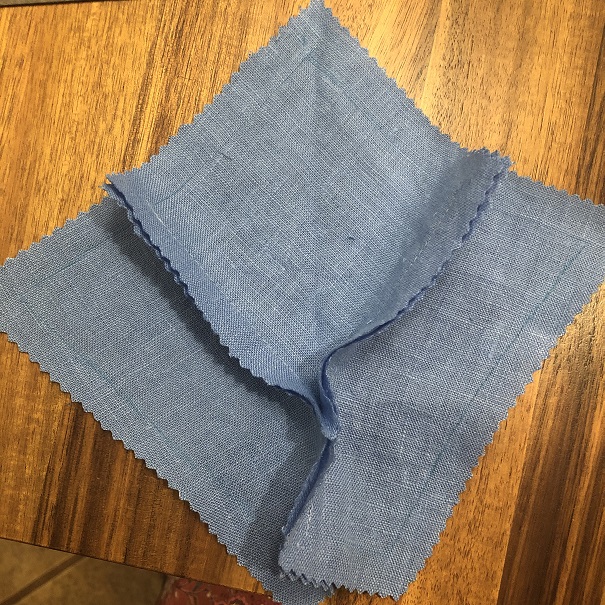
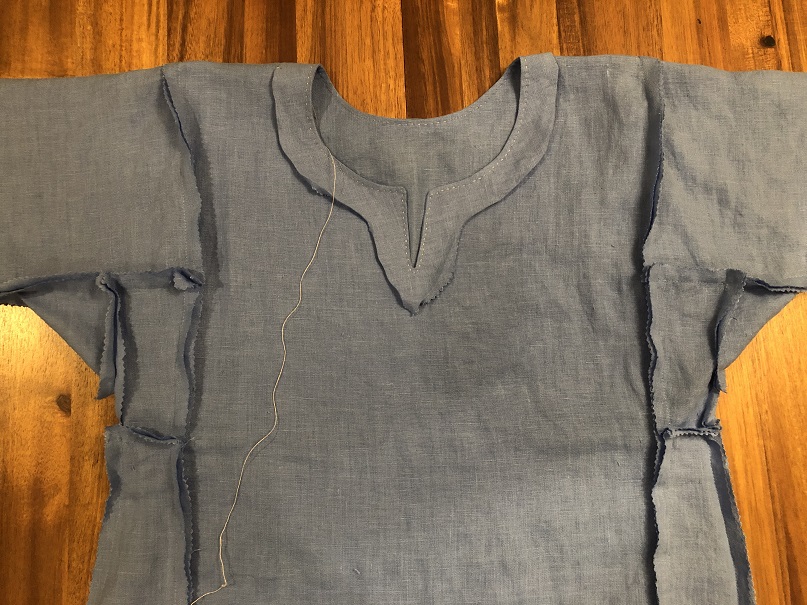
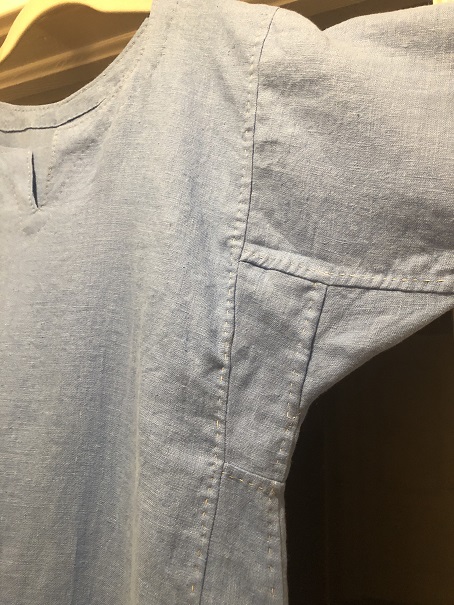
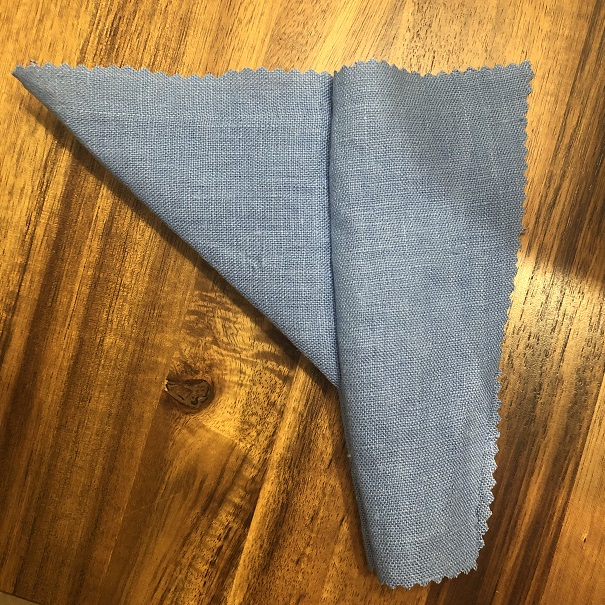
The trickiest part was sewing the gusset and side panels together. I followed her suggestion for marking my seam allowances and oh my gosh what a good idea! It made all the difference in my seam quality & made construction that much easier. I used FriXion pens. Here are the side panels and gussets ready to sew, and then the inside of those pieces after sewing them together. I kept the slides nearby while I was sewing this part, which was a huge help.
I think her order of construction is fascinating. You start with the side panels & gussset, then attach the sleeve to one side of the gusset, then sew the gores to the panels, and then close the sleeve. You end up with the dress in three separate big pieces for the final stretch of sewing, two sides and the front/back panel. The whole thing comes together extremely quickly this way, and it would be easy to finish this dress within a week for even novice sewers (depending on how you decide to finish it).
I used a sewing machine for all the construction stitching. I decided to hand-fell all the seams with some natural linen thread, as well as hand-hem the sleeves and bottom. I probably spent too much time hand-finishing everything, but it looks beautiful inside and the seams are so strong that I don't regret it at all.
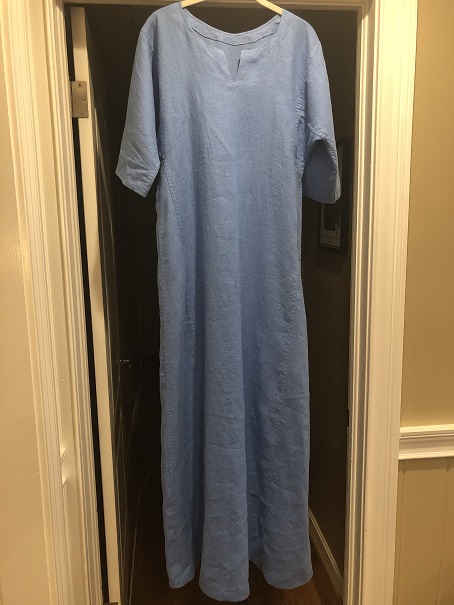
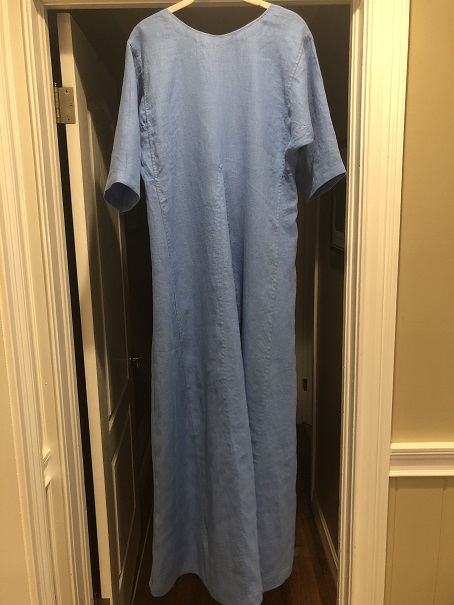
Here are some photos of the finished dress! I added a back gore to give more ease to walking and also more room for the booty. I love the way it looks, but one unforseen effect was weighing the dress down in the back enough to pull it backwards just a touch. It makes sense! The back of the dress weighs more than the front now. It's not too noticable with a belt on, but I've already decided the next time I make this dress I'll widen the side gores instead and will not have a back gore. Maybe for a future dress I'll include both a front & back gore, that would balance it out and solve the problem as well.
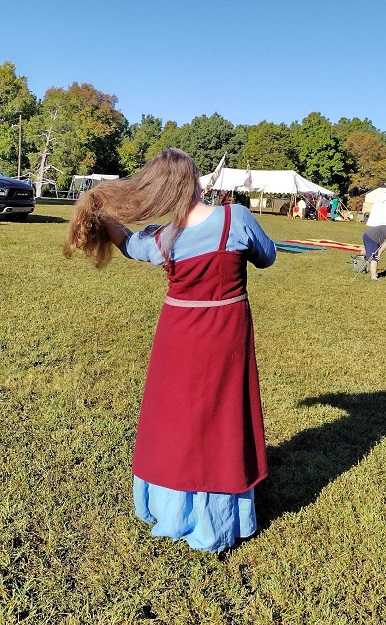
You can't see the actual dress terribly well in this picture, but it gives you some idea of the color and the length!
I'll get some better photos of the dress up soon. I'm delighted with the way it turned out. I love the way it fits so much that I've already started sewing a long-sleeved red dress using the same method! I'll post that when I'm done with it. Many thanks to Lady Kitta for sharing this amazing tutorial!
Sources and Additional Info
Lady Kitta Refr's incredible Introduction to Rectangular Construction
Ilsa Makes Things' tutorial Sew a Keyhole Neckline with a Facing
•••Here are links to the items in this post that I did not make:
Dublin dragon patterned tablet woven belt by FenrirS, red wool apron dress from Induvia

